This is about : The Basics of Silk Ribbon Embroidery
And this article : The Basics of Silk Ribbon Embroidery
Article French Sewing Box, Article Gloria McKinnon, Article ribbon stitch, Article Silk ribbon embroidery,
The Basics of Silk Ribbon Embroidery
Silk ribbon embroidery is one of the most unique and elegant forms of needlework. Great for embroidering garments, linens, trinkets and more, this age-old art adds romantic and vintage charm to any heirloom project. Below, we'd like to share a couple of ribbon work tutorials from one of the world's true masters of embroidery: Gloria McKinnon.Gloria is the owner of Anne's Glory Box in Newcastle, Australia and the author of numerous books. She's shared her handwork talents at sewing seminars around the globe, including the Martha Pullen School of Art Fashion, as well as on several of our Sew Beautiful instructional DVDs.
NOTE: Silk ribbon widths may be chosen according to size flower or leaf desired. Calico Braided Rug Needles (medium and large) and Mary Arden Leather Needles (sizes 3 to 7) are used for the silk ribbon and thread work embellishment.
 |
| Ribbon Stitch |
Ribbon Stitch (Japanese Ribbon Stitch)
(4mm, 7mm, and 13mm silk ribbon)
Probably one of the most common silk ribbon stitches, this stitch is simply a straight stitch with a curl at one end.
1. Bring the needle to the front at point A. Lay the ribbon flat against the fabric. Without twisting the ribbon, pierce the ribbon at point B at the desired length of the stitch (figure 1).
2. Pull the needle through to the back until the ribbon begins to curl at the end (figure 2). Keep the tension loose.
 |
| Chrysanthemum |
Chrysanthemum
(13mm silk ribbon)
This stunning flower takes approximately two yards of silk ribbon. It is made using a ribbon stitch.
1. Stitch one layer of overlapping ribbon stitches (figure 1).
2. Stitch the second layer of ribbon stitches slightly shorter than the first (figure 2).
3. The center may be filled with seed beads or French knots (see figure 2).
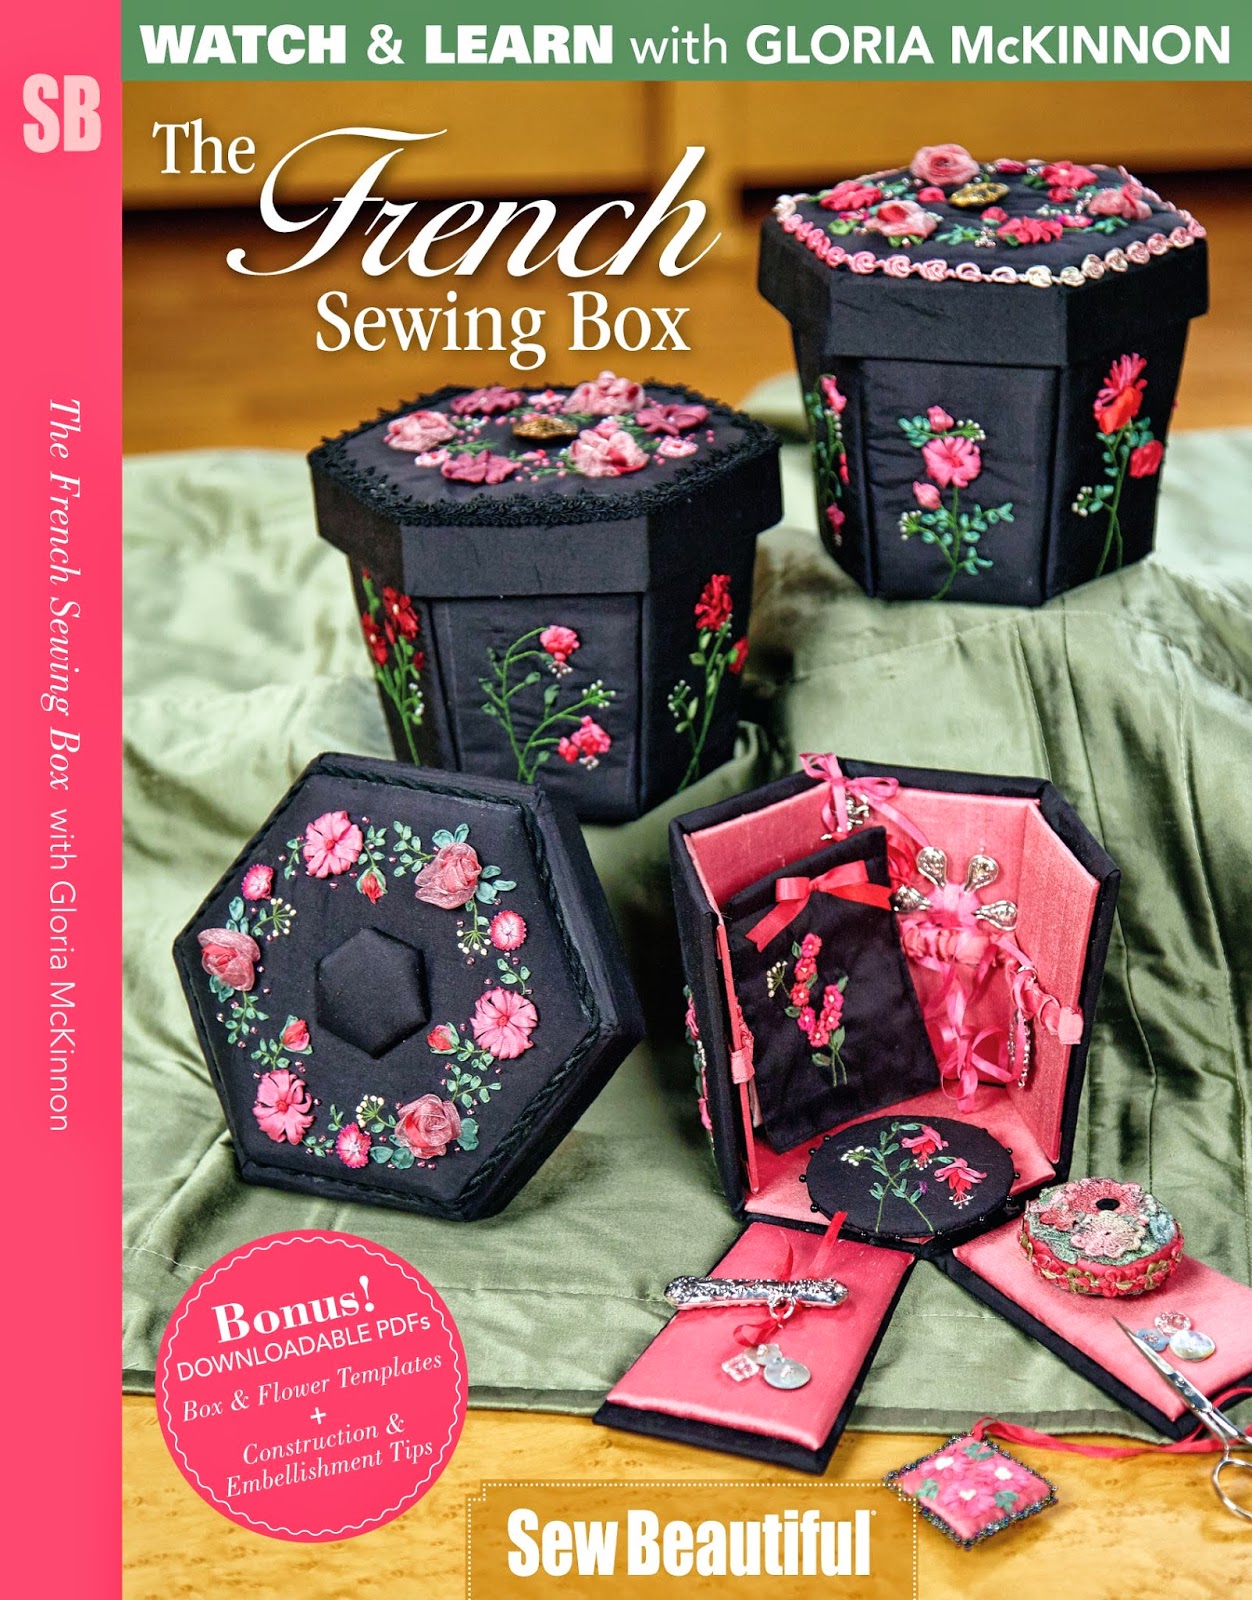 |
| The French Sewing Box |
Learn more about silk ribbon embroidery and needlework on our newest DVD, The French Sewing Box with Gloria McKinnon. This DVD will show you how to sew a beautiful set of sewing accessories for yourself or a friend as you master gorgeous stitches like silk ribbon fuchsia, chrysanthemums, daisies, asters, lilies, roses and more.
Sew On, Sew Well, Sew Beautiful,
Cyndi and Amelia
Informations The Basics of Silk Ribbon Embroidery finished we discussed
A few of our artikel about the The Basics of Silk Ribbon Embroidery, hopefully can provide a reference for you to build your dream home.
you've finished reading The Basics of Silk Ribbon Embroidery and many articles about home design in our blog this, please read it. and url link of this article is https://sophiamagnolia.blogspot.com/2014/06/the-basics-of-silk-ribbon-embroidery.html Hopefully discussion articles on could provide more knowledge about latest home design.
Tag : French Sewing Box, Gloria McKinnon, ribbon stitch, Silk ribbon embroidery,
0 Response to "The Basics of Silk Ribbon Embroidery"
Post a Comment